DesignerTM for Microsoft Access
Access Design Process With Designer
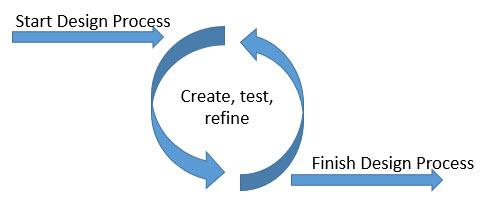
We recommend taking an iterative approach to designing your Access database with Designer. Here is how the a typical design process will go:
- Complete the Designer step-by-step wizard as completely as possible.
- Open your new database and preview each form. At this point, don't make any cosmetic changes to your forms. This is because you will likely want to revisit your project in Designer and add/change some of your fields and tables.
- Enter a test record in each form. This will give you an idea for whether the field's format is to your liking, and also help trigger ideas about additional information you'd like to track in your database.
- Close your database, and return to Designer. Click the "I'd like to make changes to my new database" button.
- In Designer, add tables, change or add fields, and modify the display formats and captions as you need.
- Once you reach the final step, click "Create My Database" once more.
- Repeat steps 3 through 6 as many times as you need until your database has all the right forms and fields you would like.
- Once you are fully satisfied with your database, it will be time to leave Designer as the design tool, and begin personalizing your database directly within Access.
- Open your new database, right click you forms, and select "Design View" to customize the form. Do this for each form you'd like to personalize. Typical changes are to adjust layout of controls, drag more fields into the "Detail" tab, and move related dropdowns from the "Detail" tab to the center Detail section of the form (where other fields are aligned horizontally).
- Any changes to tables or forms from this point on are done with Access, rather than with Designer. This is because Designer is not equiped to modify existing databases, primarily to avoid inadvertantly removing or changing a key form or table that would possibly destroy important data.